
Sewage Ejector Pump Installation Guide
It's a simple fact: no homeowner wants a sewage backup problem. If you have a basement bathroom or any plumbing fixtures that sit below your home's main sewer or septic line, you'll need a sewage pump system to pump against gravity to get rid of waste solids.
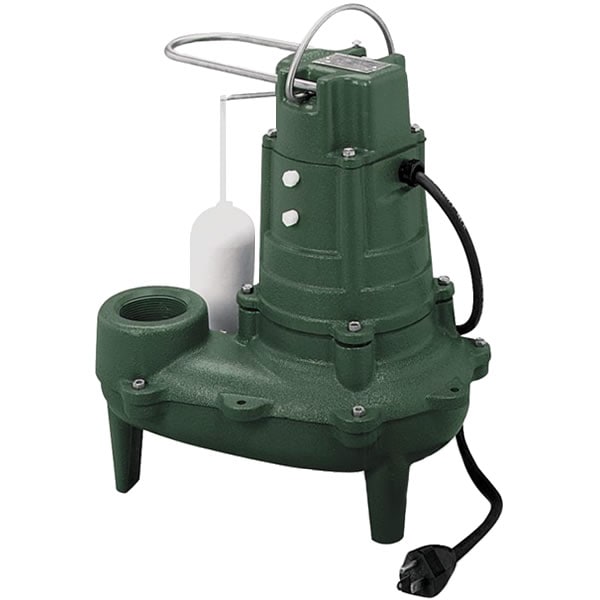
A sewage ejector pump excels at pumping solids and wastewater up and away from the home, but even the best pump will need to be replaced eventually.
Before you call a plumber, do yourself a "solid" and read this guide first to learn how to install a replacement pump-up ejector system yourself.
Before Installing Your New Pump
 First, make sure to read the instructions and warnings in
your user manual. This will further help guide you during the installation process. The owner's manual also explains what types of accessories (like float switches, alarms, etc.) are compatible with your sewage pump.
When it comes to your ejector system, make sure to check local building codes to make sure the requirements are met (such as the venting, minimum/maximum basin depth requirement-especially for outdoor installations-and the diameter of the discharge piping).
Lastly, understand that sewage ejector pumps are not sump pumps, and they cannot be used interchangeably. The differences between sewage and sump pumps vary-the biggest difference being that sump pumps cannot pump solid waste.
Tools Required for Replacing a Sewage Pump:
- Proper protective equipment (PPE) like gloves, shoes, etc.
- Rags / Towels
- 5-gallon bucket
- Pipe wrench(es)
- Power drill
- Hacksaw
- Boxcutter or similar tool
- Primer & PVC cement
- PVC pipe
- Male-threaded adapter
- Coupling/coupler (for attaching new check valve)
- Zip ties (to secure wiring)
- Electrical cord grommets
- Gasket for the basin
- Donut gaskets for the pipes
- Sewage pump alarm (read end of article)
- Digital float (read end of article)
How to Remove a Sewage Pump
Follow these steps to remove your existing sewage pump from your ejector pit. Before you start, unplug the sewage pump to make sure no electricity is flowing to the system. Remember that this application deals with human waste and sewage, so the proper protective gear and precautions should be taken to ensure your own safety.
Step 1: Remove the Sewage Basin Cover
 Before removing the sewage basin cover, you may need to disconnect the vent pipe in order to slide the basin cover over the pipe(s). This would be the case if your basin cover does not disconnect in the center. In other cases, you may need to cut the vent pipe and discharge pipe in order to remove the cover, both of which are relatively easy to replace.
Ejector pits have covers that are bolted down and are often sealed with silicone to prevent odor or sewage gas leaks from being released into the air. If applicable, the seal will need to be cut by using a boxcutter or a similar tool, and the bolts will need to be removed using the appropriate tools as well.
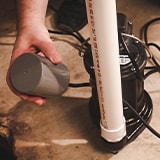
Step 2: Remove the Check Valve
Disconnect the check valve to allow the pump and discharge pipe to be pulled from the pit. We recommend replacing the check valve every time a new sewage ejector pump is installed to ensure the system continues to work properly.
When the check valve is disconnected, the remaining wastewater above the valve will drain down, so wear gloves and prepare for this. To prevent future drainage problems, you could install a ball valve on your PVC discharge pipe to prevent much of the backflow from happening again.
Step 3: Pull the Old Pump
Once the pump is disconnected, grab the discharge pipe to lift the pump out of the water, allowing any remaining water to drain from the pump and pipe. Then, place the old sewage pump in a 5-gallon bucket to control the mess and prevent further dripping onto your floor.
Step 4: Inspect the Pipe, Connectors, and Basin
 The pipe and connectors can potentially be reused, as long as the pipe is not leaking or damaged, and the threading inside the ends of the pipe remains intact. You may need to replace the discharge pipe/adapters depending on their condition when the pump is removed. Although uncommon, if the basin or cover is damaged,
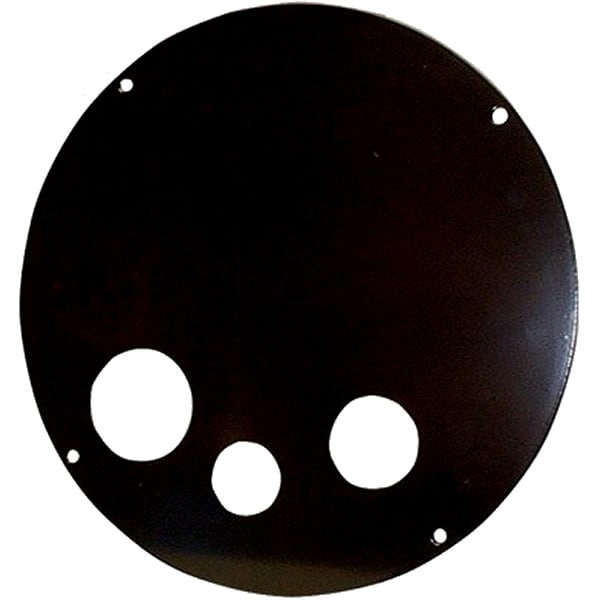
replacement basins and pit covers
are available if needed.
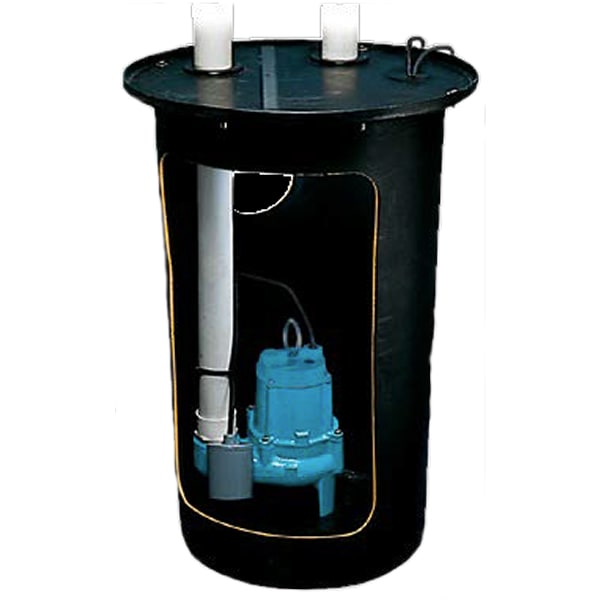
How to Install a New Sewage Ejector Pump
Once you've removed the old ejector pump, it's now time to install the new sewage pump. Follow the steps below to properly install a replacement sewage ejector pump.
Step 1: Prepare the Basin
If you removed an old sewage pump, the first step is to inspect the empty ejector pit for any signs of damage to the basin or anything else that looks abnormal. Carefully remove any loose debris or materials stuck to the walls of the basin. If you have a replacement gasket to reseal the lid, use a scraping tool to remove the old one (if applicable) to ensure a strong new seal. This is important to prevent odors or gas leaks.
Step 2: Install New Check Valve
 The new check valve should be installed prior to placing the pump in the sewage basin. You can purchase quiet check valves that are virtually silent when working, which is a nice feature when using basement bathrooms.
If you don't want to deal with backflow in the future, this is the time to install a ball valve above where you are installing the check valve, as close to it as possible. This is an optional step but will make maintenance in the future much more pleasant.
Important:
make sure the check valve is oriented the proper way, allowing water to pass upward toward the main sewer line, and not allow water to travel back down toward the pump.
Most check valves have an arrow indicating the correct direction of the water flow.
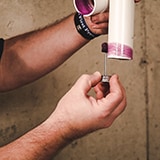
Use a coupling to make future check valve replacements even easier. For a glue-in check valve, use a primer first and prime the inside the fitting and the outer edge of the discharge piping. Then, slide the coupling over the piping before attaching the fitting to the discharge pipe.
Finally, use
PVC cement inside the fitting and attach it to the discharge pipe. Once you push the fitting on, twist slightly and hold for ten seconds to lock the fitting on as it chemically bonds.
Step 3: Test the Pump and Float Switch
 Plug the new ejector pump into a dedicated circuit to test the pump. Activate the float switch and ensure the pump turns on. Important: only keep the pump running just long enough to hear it working; you never want to run a sewage pump out of water or it could be damaged.
Remember to make sure the float switch is set at the right height for the pump to ensure proper operation. Having a float switch activate too low or too high in your basin could hurt performance. Also, consider purchasing an electronic float switch that doesn't have moving parts, which often outlives and outperforms conventional switches 10:1 (link at the end of the article).
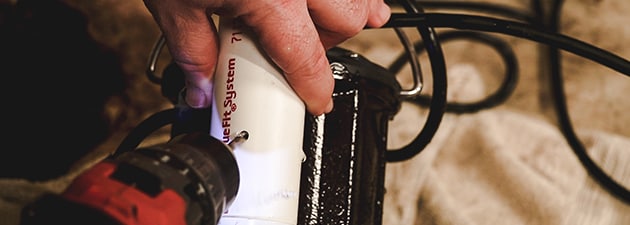
Step 4: Attach Adapter and Pump to Discharge Pipe
Attach the male-threaded adapter to one end of the PVC pipe using the primer and PVC cement. Once bonded, thread the adapter-end of the PVC pipe onto the sewage ejector pump using a wrench to tighten. Do not overtighten or the fittings may crack.
Step 5: Drill a Weep Hole
Arguably one of the most important steps, drilling a weep hole
is required to prevent an air-lock in the pipe that causes the pump to run dry. Without a weep hole, the water below a check valve drains back into the pit and compresses the air left in the pipe, which could prevent water from leaving the pump the next time it tries to empty the basin.
*Pro-Tip:
Lean the pump at an angle to make things simple. Measure approximately 2 finger-widths above the adapter. Using a drill with a 3/16" bit, begin drilling down at about a 45-degree angle, creating a downward-facing weep hole for water drainage.
Step 6: Measure and Cut PVC Pipe
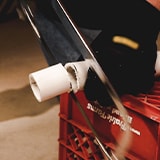 If you're replacing the bottom discharge pipe, you'll need to measure the length of the old discharge pipe and take into account that the final measurement may be slightly different with the new check valve installed.
Cut the pipe on a raised surface using a saw, and use a safety knife as a deburring tool to smooth out the edges of the cut.
Step 7: Lower Sewage Pump Into Ejector Pit
With the discharge pipe properly cut and firmly attached to the sewage pump, lower both into the sewage basin by the pump handle.
*Pro-Tip: keep the float switch pointed away from the inlet (where wastewater enters the basin). You can orient the discharge pipe to block the water from the inlet from directly covering the pump.
Once situated inside the basin and you're sure the PVC pipe is the proper length, use zip ties to secure the electrical cord above the float and prevent them from catching anywhere in the basin.
Step 8: Attach Discharge Pipe to Check Valve
 Attach the coupler to the top of the cut PVC pipe using the same technique: primer and PVC glue. Before attaching to the check valve, slide the adapter for the bottom of the check valve over the coupler before you attach it to the discharge pipe.
Then, attach the glued coupler to the pipe and align the discharge pipe and check valve. Slide the adapter up and hand-tighten the threading to the check valve on the top and bottom. Make sure not to overtighten or else the fittings may crack.
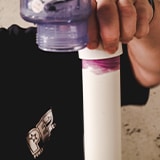
Step 9: Test the Sewage System
Once the pump is firmly placed inside the basin, ensure the float switch can move freely about the basin. A common reason a float switch does not operate correctly is because of hair or other materials getting attached to the float and weighing it down, not allowing it to activate the pump properly. Then, plug the sewage pump into the outlet and, using a bucket, fill the basin
with enough water so that the rising water level will flip the float switch to ensure the pump is activated properly.
*Pro-Tip: Connect the pump plug into the back of the float switch plug (piggyback) before plugging into the outlet to make sure it will work properly.
Remember, unless your basin cover separates in the center, you'll need to disconnect the discharge pipe from the check valve again in order to fit the sewage basin cover on again. This is why we recommend using couplers when installing, to prevent having to remove the check valve completely.
Step 10: Attach Sewage Basin Cover
 Make sure the new gasket is attached and ready to adhere to the cover. Before placing the cover, the discharge pipe will need to be loose in order to slide the cover over it. It's important to make sure all electrical wires are pulled through the basin cover holes before the seal is made.
Use an electrical wire grommet to pull the wire slack up and seal the empty space. Also, make sure you've completed the installation of all accessories you want below the basin cover (alarm, digital float switch, etc.).
When the cover is in place, the vent pipe should sit below the cover about 2 or 3 inches inside the basin. To attach the cover permanently, put a bead of silicone all the way around the edge of the opening in order to properly secure the basin cover. Slide the cover over the discharge pipe and press firmly down.
Then, replace and screw in the bolts and washers that hold the cover down. Consider using an anti-seize lubricant to prevent the bolts from rusting out in the future. next, pull any remaining wire slack above the cover, and zip tie them to the discharge pipe. Make sure the top of the wires still sit below the height of the electrical outlet to prevent water from traveling down the wire and into the outlet.
Finally, attach the donut gasket by sliding it over top of the discharge pipe and locking it in the grooves.
Step 11: Attach Vent Pipe to Top of Basin Cover
Sewage ejector pump systems are required to have piping attached to the basin in order to vent out odors and buildup of gases. These vents need to be vented outside, and the pipe is often connected to the main stack in the home where your other piping connects. Double-check local building codes to make sure the requirements are met. After both pipes are safely attached, bead around the remaining spaces with a sealant to ensure a proper seal is made.
Next Steps
Great work! Now that you've installed your sewage pump properly, you shouldn't have to worry much about it for a long while. However, there are a few things we recommend doing to properly maintain your sewage pump and alert you of issues.
Sewage Ejector Pump Maintenance
All pump manufacturers will recommend that you check and inspect your pumps on a regular basis, at least twice per year. This includes checking and verifying the operation of the switch(es) for all pumps, checking basins to ensure that they are free and clear of any debris that can impede the operation of the pump or switch. Check your owner's manual for more information on your specific pump.
Sewage Pump Alarms
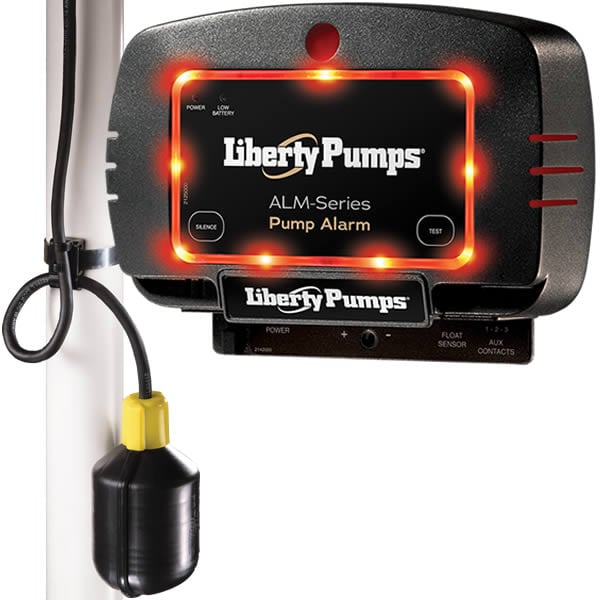 If you don't want to worry about walking into a bathroom flooded with wastewater, we recommend investing in a water alarm system if your sewage ejector pump didn't already come with one. Water alarms will notify you when there is an issue with your system, helping you stop the mess before it happens.
Basic alarms will sound from the point of installation with a loud beeping, while smart alarms can notify you via text or email you even when you're away from home, for added peace of mind. Just remember to choose an alarm that is rated for sewage systems, and if your system is installed outdoors, make sure the sewage alarm is also rated for outdoor use.
Electronic Float Switches
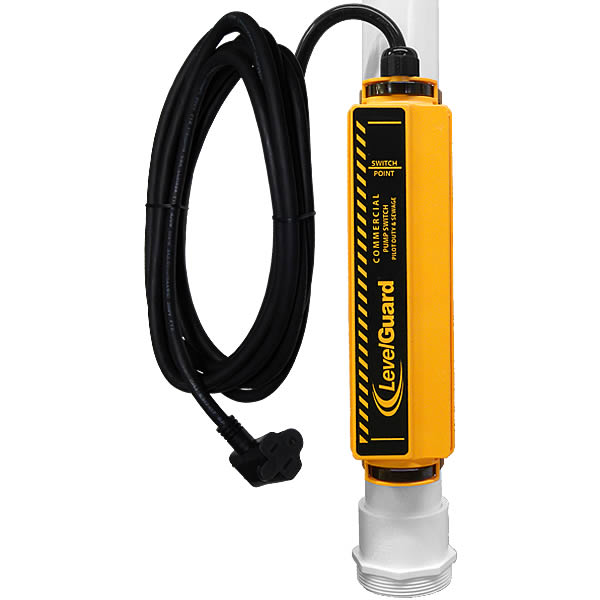 Almost every sewage pump will come with a type of float switch, most commonly a vertical float switch or a tethered switch. However, there are electronic float switches that do not have mechanical moving parts, allowing them to last for years without issue, and sometimes, outlive the pump as well.
These types of switches are becoming increasingly popular among homeowners for their dependability and ease-of-use after installing. Additionally, for smaller sewage basins, these digital floats take us less space than other traditional types of floats.
![]()
NEXT: Best Sewage Pumps of the Year
